
In today’s fast-paced digital environment, automating your workflow is not a luxury—it’s a necessity. One of the best tools for this job is n8n, an open-source, node-based workflow automation tool that gives you the power to build complex integrations with ease. Whether you’re a business owner, developer, or digital marketer, this guide will walk you through how to set up n8n step-by-step to streamline your operations and save time.
What Is n8n?
n8n (pronounced “n-eight-n”) is short for “nodemation.” It allows you to connect different apps and services to automate repetitive tasks—no deep coding skills required. With over 350+ built-in integrations and a powerful visual editor, it gives users flexibility and control like no other automation tool.
Examples of what you can automate:
-
Sending Slack alerts when new leads come in
-
Posting new WordPress blog updates to Twitter automatically
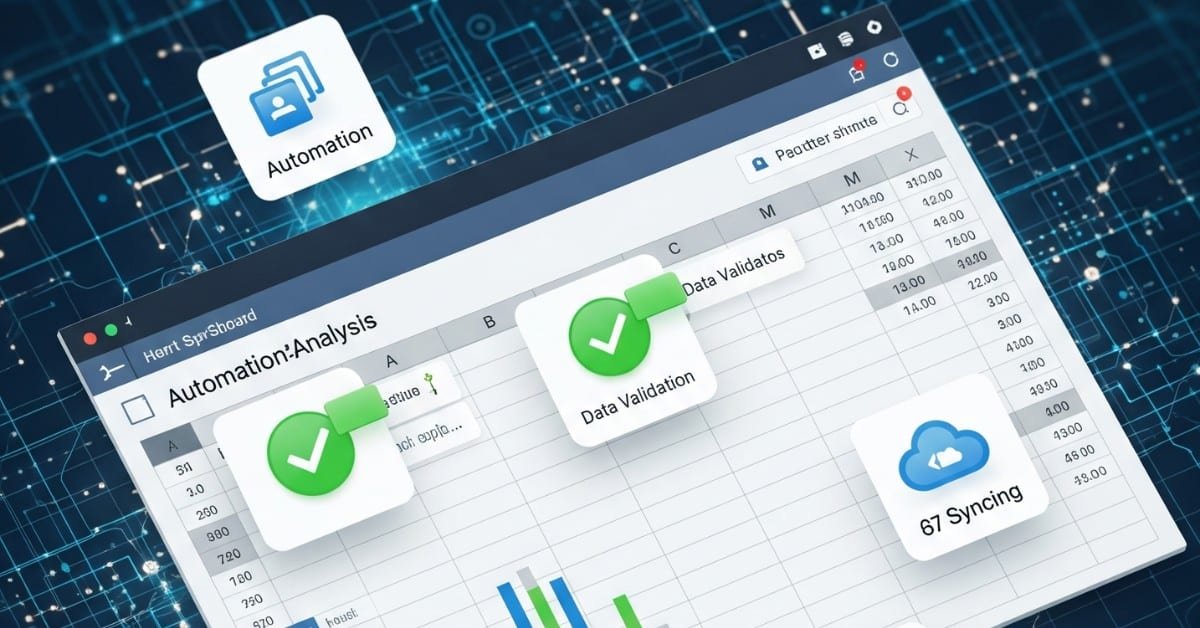
-
Syncing data between Google Sheets and your CRM
-
Auto-sending follow-up emails after form submissions
Prerequisites Before You Start
Before diving into the setup process, make sure you have the following:
-
A basic understanding of how APIs and webhooks work (helpful but not essential)
-
Node.js and npm installed on your system
-
A server or cloud environment (you can also run locally)
-
Docker (optional but useful)
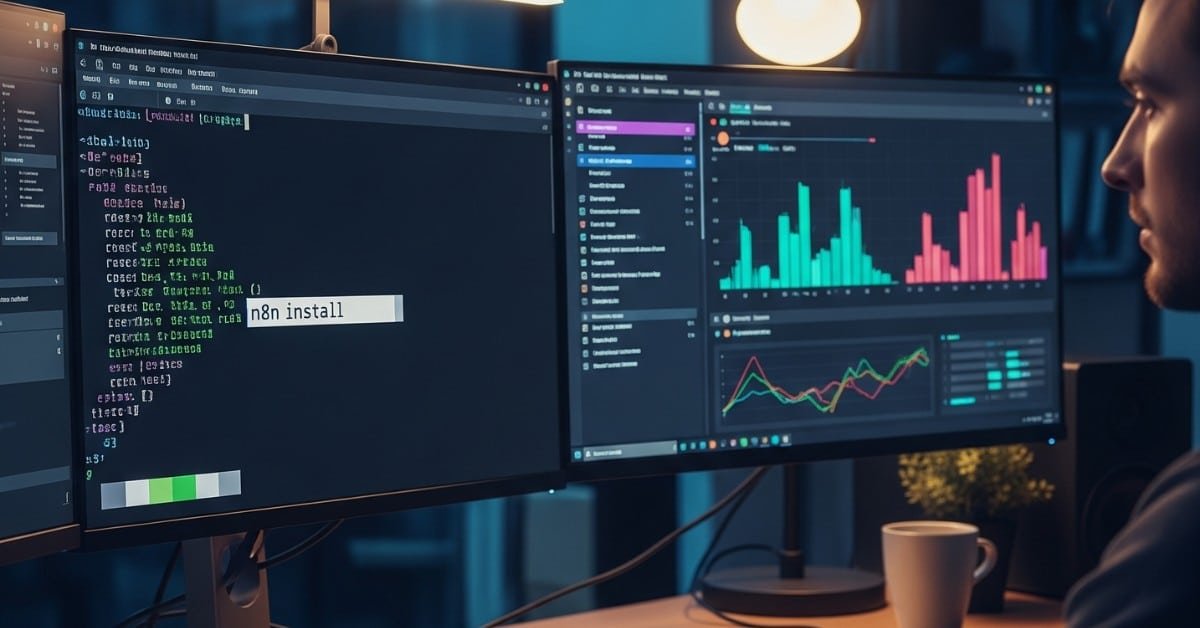
Step 1: Install n8n
You can install n8n using npm or Docker. Here are both methods:
Method 1: Install via npm
After installation, you can start n8n with:
Method 2: Install via Docker
If you prefer Docker, run:
This runs n8n on port 5678 by default.
Step 2: Secure Your Instance
For production use, never expose n8n to the public without securing it. Use:
-
Basic Auth or JWT Authentication
-
HTTPS via a reverse proxy like NGINX
-
Environment Variables to hide credentials
Example (for basic auth):
Step 3: Explore the UI and Nodes
Once n8n is running, go to:
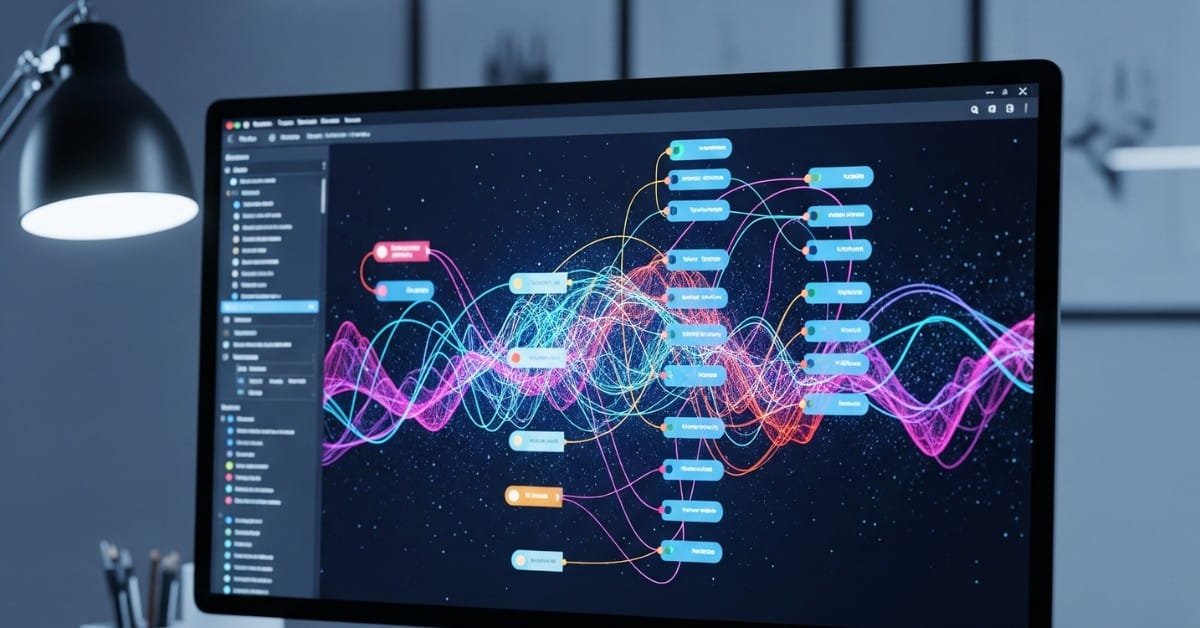
You’ll see a visual interface where you can start building workflows. Each workflow is made up of nodes, which represent services or functions (like “HTTP Request,” “Email,” “IF,” “Webhook”).
Popular nodes include:
-
Webhook
-
HTTP Request
-
Google Sheets
-
Trello
-
Slack
-
MySQL
-
GitHub
Step 4: Create Your First Workflow
Let’s walk through a basic example:
Goal: When a new user signs up, send a Slack message and update a Google Sheet.
Step-by-Step:
-
Add a Webhook node and set it to listen for POST requests.
-
Add a Slack node and connect it to your Slack account.
-
Add a Google Sheets node to update a spreadsheet.
-
Use the Set node to structure the incoming data if needed.
-
Connect all nodes in sequence.
-
Hit “Execute Workflow” to test.
Once confirmed, hit “Activate” so it runs automatically from now on.
Step 5: Test and Debug
Use the built-in debugger to inspect each node’s output. Look for:
-
Incorrect data mappings
-
API limits or failed authentications
-
Missing credentials
You can re-run specific nodes to isolate issues and optimize.
Step 6: Schedule Automation (Cron Jobs)
Want the workflow to run at specific times instead of waiting for triggers?
Use the Cron node:
-
Set it to run every hour/day/week
-
Combine with other nodes for periodic tasks (e.g., weekly data reports)
Step 7: Monitor and Maintain
Automation isn’t a set-it-and-forget-it process. Keep an eye on:
-
Logs: Check logs for any failures
-
Error Workflows: Set fallback paths if something breaks
-
Webhook Timeouts: Ensure endpoints remain responsive
-
Database Size: Cleanup old executions to keep it lightweight

Bonus: Deploy to Cloud (Optional)
You can deploy n8n to:
-
DigitalOcean
-
Heroku
-
Render
-
VPS using Docker Compose
This way, your workflows remain live 24/7.
Final Thoughts
n8n is incredibly powerful and flexible. By investing a little time in setup and configuration, you can save hours every week. From marketing automation to backend processes, n8n puts control back in your hands—no expensive third-party subscriptions required.